
TL;DR

Get baby and family essentials delivered free — and shop member deals
- Fast, free delivery on millions of items
- Access to Prime Big Deal Days deals on October 6–7
- Prime Video, Amazon Music and more included
Warming bottles correctly means 3–5 minutes in electric warmers, shaking afterward, and testing temperature before feeding. Avoid hot spots and long waits with these practical tips, and consider smart warmers for added safety.
Ever had a bottle come out too hot or ice-cold, leaving you guessing if your baby’s feed is safe? That frustration is common, but understanding the right timing and methods can make all the difference. Properly warming milk isn’t just about convenience; it’s about safety and nutrition for your little one.
In this guide, you’ll discover how to perfectly time your bottle warming, avoid hot spots, and save precious minutes during those bleary 3am feedings. Plus, we’ll peek at the latest tech that’s making it easier to get it just right.
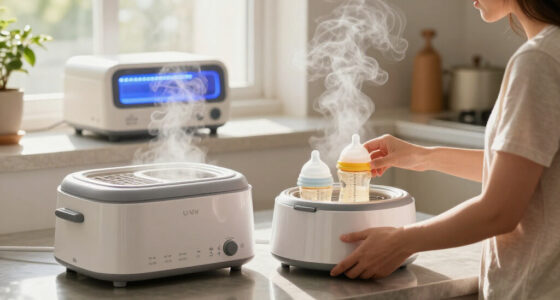
Warming a bottle generally takes 3–5 minutes in an electric warmer—don’t rush, follow guidelines.
Always shake or swirl the bottle after warming to prevent hot spots and test on your wrist for safety.
Microwave heating is quick but prone to uneven heat; always shake and test thoroughly.
Smart bottle warmers with sensors reduce risks and make warming more consistent.
Avoid leaving milk unattended during warming to prevent overheating or burns.
How Long Should You Warm a Bottle? Practical Time Frames You Can Trust
Warming a bottle usually takes between 3 and 5 minutes in an electric warmer. If you’re using hot water or a microwave, it can be quicker—often 30 seconds to 2 minutes. The key is following manufacturer guidelines and testing the milk’s temperature before feeding.
For example, a 4-ounce formula bottle in an electric warmer typically reaches the right temp in about 4 minutes. Rushing it or leaving it too long can lead to uneven heat, risking hot spots or cold milk. Always remember: a quick test on your wrist is worth a thousand guesses.
As an affiliate, we earn on qualifying purchases.
Avoid Hot Spots: Simple Tricks to Keep Milk Evenly Warmed
Hot spots are uneven patches where milk gets too hot, risking burns or nutrient damage. To prevent this, shake or swirl the bottle thoroughly after warming. Testing the milk’s temperature on your wrist ensures it’s just right—warm, not hot.
Imagine you microwave a bottle for 45 seconds. Without shaking, the milk might have a scalding pocket inside. But if you swirl it and test on your wrist, you’ll feel the gentle warmth, avoiding dangerous hot spots.
Understanding why hot spots matter is crucial: hot spots can cause burns that might not be immediately obvious, especially to a baby who cannot communicate discomfort. Additionally, nutrient degradation occurs at high temperatures, so even distribution preserves the milk’s beneficial properties. Shaking or swirling ensures heat is evenly spread, reducing these risks and making feeding safer and more nutritious.
As an affiliate, we earn on qualifying purchases.
Comparison Table: Warming Methods — Pros and Cons
| Method | Warming Time | Hot Spot Risk | Ease of Use |
|---|---|---|---|
| Electric Bottle Warmer | 3–5 minutes | Low | Very easy, controlled |
| Hot Water Bath | 5–10 minutes | Low if monitored | Moderate, manual process |
| Microwave | 30 sec–2 min | High if not shaken | Fast but tricky |
As an affiliate, we earn on qualifying purchases.
Smart Bottle Warmers: The Tech That Takes the Guesswork Out
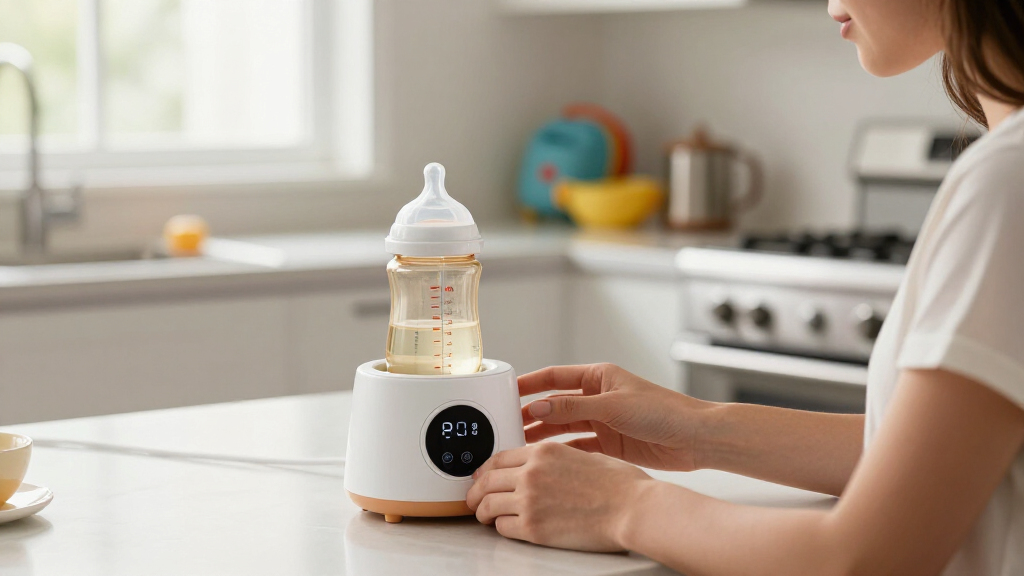
Smart warmers with sensors and app controls are changing the game. They monitor temperature and automatically stop heating when the milk hits the right mark, reducing hot spots and guesswork. Some models even connect to your phone, so you can start warming from bed or the nursery.
Imagine waking up at 3am. Instead of rushing, you tap a button on your phone, and the warmer does the rest. These devices are especially handy for busy parents juggling multiple feeds and safety concerns.
As an affiliate, we earn on qualifying purchases.
Latest Safety Tech: Safer Warming with Less Hassle
Newer bottle warmers include automatic shut-off features and built-in temperature sensors. These innovations help prevent overheating and hot spots, significantly reducing the risk of burns or nutrient loss. By actively monitoring the temperature, these devices ensure your baby’s milk stays within a safe range, even if you forget or get distracted. According to BabyUI, such features are crucial because traditional methods lack real-time temperature control, leaving room for human error.
For example, a smart warmer might pause heating once the milk reaches 102°F, ensuring it doesn’t surpass safe temperatures. This not only protects your baby but also preserves the milk’s nutritional quality, making late-night feeds safer and more efficient.
How to Properly Warm Milk and Avoid Common Mistakes
- Follow the manufacturer’s recommended warming time for your method.
- Never leave a bottle warming unattended, as this can lead to overheating or accidents.
- Shake or swirl the bottle after warming to evenly distribute heat, preventing hot spots that can cause burns or nutrient damage.
- Test the milk temperature on your wrist—if it feels warm and comfortable, it’s ready. This step is critical because surface tests can be misleading if hot spots are present.
- Discard any milk that looks or smells off to avoid feeding spoiled milk, which can cause illness.
For example, if your electric warmer recommends 4 minutes for a 4-ounce bottle, adhere to that timing. Always confirm the temperature by testing on your wrist—if it’s just slightly warmer than body temperature, it’s safe to feed. Remember, the goal is to gently warm the milk without risking hot spots or nutrient loss.
Conclusion
Perfectly timed bottle warming isn’t just about convenience. It’s about safety, avoiding burns, and keeping nutrients intact for your baby. With simple steps—timing, shaking, testing—you’ll turn a stressful task into a straightforward part of your routine.
And as new tech keeps improving, you can relax a little more knowing your baby’s milk is just right—warm, safe, and ready when you are.
Halloween Picks
halloween
As an affiliate, we earn on qualifying purchases.