TL;DR
Position your baby monitor at eye level facing the crib for the clearest view. Use wide-angle lenses and remote controls for best coverage. Proper placement boosts safety and reduces blind spots.
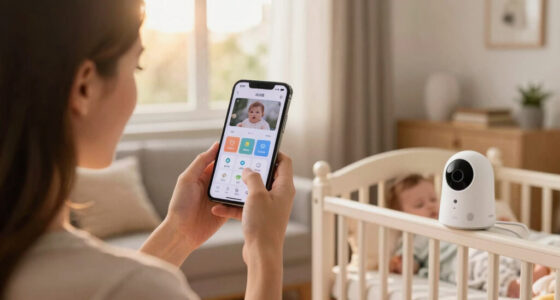
Imagine catching every tiny movement your baby makes — from a sleepy smile to a frown during a nightmare. The secret isn’t just in choosing a good monitor, but in how you position it. An awkward angle or a hidden corner can turn your peace of mind into blind spots.
In this guide, you’ll learn exactly where to place your camera for the clearest view of your baby’s crib. We’ll cover angles, heights, and features that make a real difference. Get ready to turn your baby monitor into a vigilant, reliable eye in the sky.
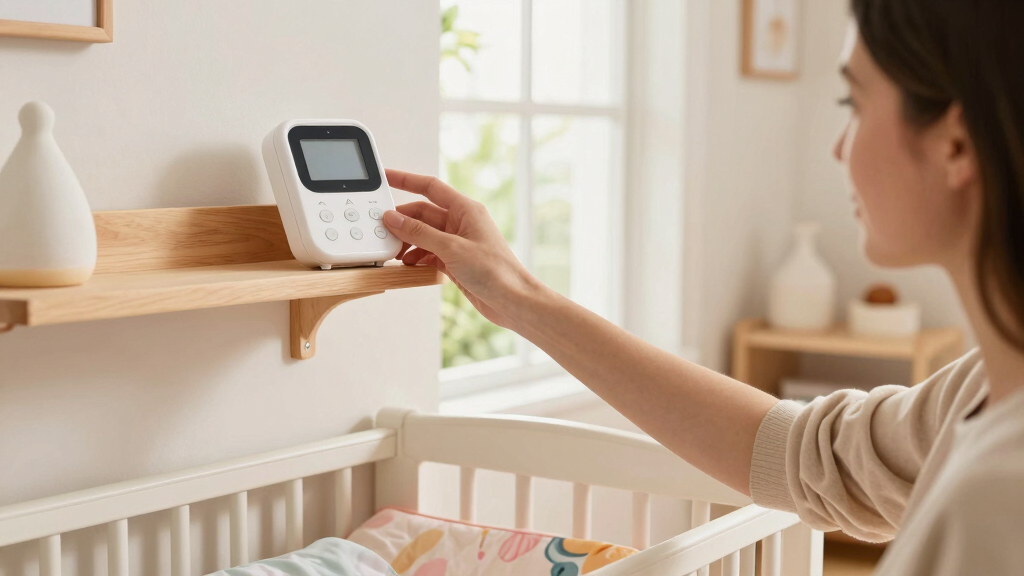
Mount your camera at eye level, 4-6 feet above the crib, facing directly into it.
Use wide-angle lenses and remote pan/tilt controls to cover the entire crib area.
Avoid obstructions like toys or bedding that block the camera’s view.
Ensure night vision works well by positioning the camera so infrared light isn’t reflected or blocked.
Regularly recheck and adjust your camera’s angle as your baby grows or changes position.
Angles That Actually Show the Crib
TL;DR: Position your baby monitor at eye level, facing directly into the crib. Pair that setup with a wide-angle lens, remote pan/tilt controls, clear night vision, and a recheck routine to reduce blind spots and catch the tiny movements that matter.
The best monitor is only as useful as the angle you give it.
A hidden corner, blocked lens, or too-steep overhead view can turn a premium camera into a guessing game. The goal is simple: whole crib, clear face, no reachable cords.
The Geometry of a Clear Crib View
Parents often focus on resolution, but placement usually decides what you can actually see. Aim for a natural eye-level perspective that includes the baby’s face, body, crib edges, and the immediate surrounding area.
Mount 4 to 6 feet high
This gives a broad view without making the baby’s face too small or distorting the crib into a steep overhead shape.
Face the crib center
Point the lens toward the middle of the mattress so rails, bedding, and toys are less likely to hide important movement.
Use a corner or diagonal wall
A diagonal view usually captures more crib surface than a flat side angle while preserving facial detail.
Coverage Impact
Height Sweet Spot
The useful zone is high enough to see the whole mattress, but low enough to keep facial expressions and hand movement visible.

VTech Baby Monitor No WiFi, 7" IPS Screen, 5000mAh 12Hr Battery, 360° PTZ, 4X Zoom, Night Vision, Night Light, 2-Way Talk, White | Advanced HQ Max
SEE EVERY DETAIL FROM ACROSS THE ROOM — 7" TRUE-COLOR IPS SCREEN: The 178° wide-angle IPS display delivers…
As an affiliate, we earn on qualifying purchases.
As an affiliate, we earn on qualifying purchases.
Five-Step Placement Flow
Use this chain when installing the monitor, moving furniture, lowering the crib mattress, or switching to a new camera.
Pick the wall
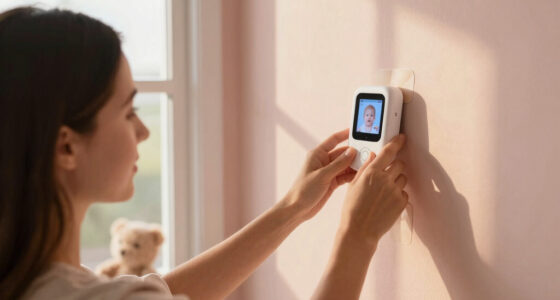
Choose a stable wall or corner that faces the crib without putting the camera within reach.
Set the height
Place the lens about 4 to 6 feet up, slightly above crib level for a natural downward view.
Center the frame
Include the whole mattress, rails, and the area where your baby most often turns or scoots.
Test in darkness
Check infrared night vision for glare, blocked LEDs, harsh reflections, and shadowed corners.
Recheck often
Adjust the view as your baby grows, rolls, stands, or as bedding and room layout change.

HelloBaby 4.3'' Video Baby Monitor with 30 Hours Battery, Remote Pan-Tilt-Zoom Baby Monitor No WiFi, Baby Monitor with Camera and Audio, Night Vision, ECO Mode, Two-way Talk, 8 Lullabies, 1000ft Range
【3500mAh Powerful Battery & 4.3'' IPS Screen】Our HelloBaby baby monitor comes with a 3500mAh powerful battery that lasts…
As an affiliate, we earn on qualifying purchases.
As an affiliate, we earn on qualifying purchases.
Placement Options Compared
The best position balances coverage, detail, safety, and night vision. A beautiful close-up is less useful if half the mattress disappears from frame.
| Placement | Crib Coverage | Face Detail | Blind-Spot Risk | Safety Notes |
|---|---|---|---|---|
| Diagonal wall mount | ✓ Excellent full-mattress view | ✓ Strong when mounted 4-6 feet high | ✓ Lowest when centered well | Secure mount, hide cords, keep camera out of reach. |
| Side wall mount | ~ Good, but rails can block sightlines | ✓ Often clear for face checks | ~ One far corner may disappear | Angle inward and test both ends of the crib. |
| Bookshelf or dresser | ~ Depends on height and distance | ✓ Good if lens is eye level | ~ Easy to bump or shift | Use a stable base and never place loose cords near crib. |
| High ceiling corner | ✓ Wide room coverage | ~ Facial detail may shrink | ~ Can create steep blind zones | Use zoom carefully and verify night glare. |
| Low furniture surface | ✗ Rails and bedding block view | ~ Close-up may be misleading | ✗ Highest obstruction risk | Avoid if the baby can reach the device or cord. |

Adjustable Baby Monitor Mount for HelloBaby HB6550/ HB6560/ HB6240/ HB6148/ HB6339/ HB66/ HB65/ HB40, ANMEATE 549/SM935E, Universal Baby Monitor Wall Mount with Perfect View and Easy to Install
✔Compatibility:Especially designed for hello baby monitor HB65/HB40/HB6550/HB6560/ HB6148/ HB6240/ HB66/ HB6339/ HB6550 Pro, ANMEATE 549/SM935E, and also fit…
As an affiliate, we earn on qualifying purchases.
As an affiliate, we earn on qualifying purchases.
Features That Make Placement Work Harder
Technology cannot rescue a bad angle, but the right features can make a good angle more flexible as your baby grows and room conditions change.
Wide angle without heavy distortion
A lens around 120 degrees can show the entire crib and nearby floor area with one camera, reducing the need for multiple devices.
Remote pan, tilt, and zoom
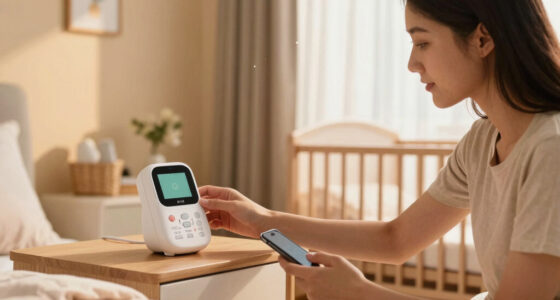
PTZ controls let you recenter the crib, zoom in during naps, or sweep the room from your phone without entering the nursery.
Infrared that avoids glare
Position the camera so infrared LEDs illuminate the mattress evenly instead of bouncing off rails, glossy walls, or nearby objects.
Firmware and Wi-Fi hygiene
Keep firmware updated, use strong passwords, and secure your Wi-Fi network so convenience does not compromise privacy.
Run the three-light test before trusting the view.
Check the monitor in daylight, evening room light, and full darkness. A placement that looks perfect at noon can fail once infrared turns on or shadows move across the crib.
- Frame the entire crib before zooming in on your baby’s face.
- Remove visual blockers such as hanging toys, bulky bedding, and rail covers.
- Keep cords tucked away and the camera outside the baby’s reach.
- Recheck the angle whenever the crib mattress height changes.
- Confirm alerts, audio, temperature sensors, and night vision after every reposition.

GoodBaby 5" Baby Monitor with Camera and Audio
TOTAL COVERAGE & 5” HD DISPLAY – Monitor your nursery with a large 5-inch LCD screen providing a…
As an affiliate, we earn on qualifying purchases.
As an affiliate, we earn on qualifying purchases.
Why camera angle matters more than you think
Most parents focus on features like night vision or resolution. But where you place the camera impacts what you see far more. A poorly angled camera might miss your baby’s face or leave blind spots where accidents could happen. Think of it like a security camera: if it’s aimed at the wrong corner, you might miss a break-in.
For example, placing the camera above the crib with a downward tilt captures the entire sleeping area. It’s a simple change that makes a huge difference. An angled shot can also help you spot if your baby shifts into an unsafe position or gets tangled in bedding.
Understanding the importance of camera angles is crucial because it directly influences your ability to monitor your baby effectively. An improper angle can create blind spots, leading to missed cues or safety hazards. Conversely, a well-angled camera offers a comprehensive view, enabling you to respond promptly to any issues, thereby enhancing your baby’s safety and your peace of mind.
The best spots to mount your baby monitor for maximum coverage
Place the camera on a wall about 4 to 6 feet above the crib. Mounting it at eye level ensures the view isn’t distorted and provides a natural perspective similar to what you’d see if you were in the room. Positioning the camera diagonally opposite the crib or in a corner allows it to cover the entire sleeping area, minimizing blind spots.
For instance, a parent who installed the camera on a bookshelf at eye level, facing directly into the crib, reported seeing every detail — from tiny yawns to hand movements. This placement not only maximizes visibility but also reduces the need for multiple cameras, simplifying monitoring. However, consider the tradeoff: higher placements might make it harder to see close-up details, so choosing a position that balances wide coverage with clarity of critical zones is key.
Safety considerations are equally important: ensure the mount is secure, cords are tucked away to prevent tripping hazards, and the camera isn’t within reach of your baby to avoid tampering or accidental dislodging. Proper placement combined with safety precautions creates an effective and secure monitoring setup.
How to choose the right lens and adjust the angle
Not all cameras are created equal. Wide-angle lenses are invaluable because they allow you to see the entire crib and surrounding area with a single shot, reducing the need for multiple cameras and making it easier to monitor your baby’s movements. However, wide-angle lenses can sometimes distort images, so choosing a high-quality lens that offers a balance between coverage and clarity is essential.
Look for models with pan, tilt, and zoom features. These capabilities provide flexibility, allowing you to remotely adjust the camera’s view as your baby moves or as the crib setup changes over time. For example, a parent using a camera with a 120-degree lens and remote controls could zoom in during naps to see facial expressions or pan across the room at night to monitor the environment. This flexibility helps you adapt to your baby’s development and different lighting or room arrangements.
Keep in mind that the quality of the lens and the camera’s ability to adjust angles directly influence your monitoring effectiveness. Regularly checking and fine-tuning the camera’s position ensures you maintain optimal coverage, especially as your baby grows and becomes more mobile. This proactive approach minimizes blind spots and maximizes safety.
Lighting and night vision — why they’re your best friends
Good night vision isn’t just a bonus — it’s a must. Cameras equipped with infrared LEDs enable you to see your baby clearly in darkness without disturbing their sleep. Proper placement ensures that infrared illumination is evenly distributed across the crib, avoiding glare or shadows that can obscure your view.
Imagine a monitor with poor night vision. You might see a blurry silhouette instead of your baby’s peaceful face, leading to unnecessary worry or missed cues. When positioned correctly, the infrared LEDs illuminate the crib uniformly, providing a crisp, clear image even in pitch-black rooms. This consistency is vital for detecting subtle movements or breathing patterns that might indicate distress.
Additionally, avoid placing the camera where bright lights or sunlight can reflect off the lens, as this can interfere with night vision. Thoughtful positioning ensures reliable, high-quality night-time monitoring, giving you peace of mind that your baby is safe and sound throughout the night.
Latest tech features that help you see more, better
Modern baby monitors pack advanced features that significantly enhance monitoring capabilities. AI-driven analysis can detect crying, movement, or even sleep patterns, alerting you only when necessary, reducing false alarms. High-resolution cameras (up to 4K in some models) provide crisp, detailed images, allowing you to see every expression and movement with clarity.
Features like pan, tilt, and zoom controls, which can be operated remotely via smartphone, give you dynamic control over what you see. Dual-way audio enables real-time communication, making it easier to soothe your baby from afar. Room sensors for temperature and humidity add another layer of safety, helping you maintain an optimal environment.
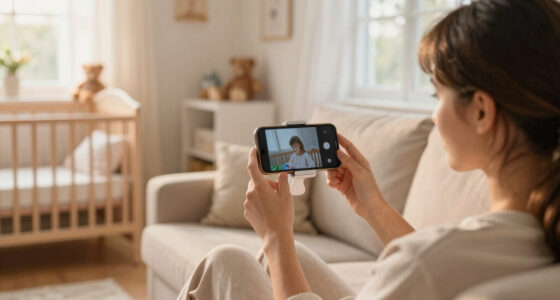
For example, adjusting your camera from your phone while making dinner, zooming in to observe your baby’s tiny fingers clutching a stuffed animal, demonstrates how these technologies work in tandem with good placement. Proper positioning maximizes the effectiveness of these features, ensuring you get a comprehensive view of your baby’s environment and well-being.
Safety note: Always keep your firmware updated and secure your Wi-Fi network to prevent hacking, safeguarding your baby’s privacy and security.
Practical tips for positioning your camera like a pro
- Mount the camera at least 4 feet above the crib, facing downward, to capture the most comprehensive view and reduce distortion.
- Use a corner mount for the widest coverage, but ensure the angle doesn’t create blind spots or distort important details.
- Set the angle to include the entire crib and surrounding area, avoiding obstructions like toys or bedding that can block the view.
- Choose cameras with remote pan, tilt, and zoom controls to adapt quickly to your baby’s movements and room changes.
- Test the view in different lighting conditions—daylight, evening, and night—and make adjustments as needed to maintain clarity and coverage.
For example, a parent once positioned the camera too low, missing when their baby rolled into a corner of the crib. Repositioning based on these tips helped prevent future blind spots and ensured a full view at all times.
Remember: Regularly check and fine-tune your camera’s position as your baby grows and becomes more active. This ongoing attention guarantees consistent, comprehensive monitoring and peace of mind.
Frequently Asked Questions
Where is the best place to position a baby monitor camera?
Mount it on a wall about 4 to 6 feet above the crib, facing directly into it, preferably in a corner for maximum coverage. Avoid obstructions and ensure cords are tucked away safely.How high should I mount the baby monitor camera?
Aim for about 4-6 feet above the crib, mounted securely on the wall or ceiling, to get a clear, undistorted view of your baby.Can I use a wide-angle lens to see the entire crib?
Yes, wide-angle lenses are ideal for covering the whole crib area without multiple cameras. Pair them with remote controls for flexible viewing.What features should I look for in a baby monitor camera?
Prioritize night vision, two-way audio, pan/tilt/zoom, high resolution, and secure Wi-Fi connection for comprehensive monitoring.How do I prevent the camera from disturbing my baby?
Use infrared night vision, avoid placing bright lights near the camera, and ensure positioning avoids glare or shadows—keeping sleep undisturbed.Conclusion
Good camera placement isn’t just about technology — it’s about smart positioning. A well-aimed, properly mounted camera turns your baby monitor into a vigilant eye that never misses a moment.
Think of it as setting up a tiny security guard that’s always watching, but gentle enough to let your baby sleep peacefully. Take the time to position your monitor thoughtfully, and peace of mind will follow.